
How to Check Your Motorcycle Tire Pressure
Materials:
- Tire pressure gauge
- Air compressor (if needed)
- Owner’s manual
Steps:
- Check the owner’s manual to find the recommended tire pressure for your motorcycle. This information is usually located on the swingarm or inside the manual.
- Locate the valve stem on the tire. It looks like a small metal stem that protrudes from the wheel rim.
- Remove the valve cap from the valve stem. The valve cap protects the valve stem from dirt and debris.
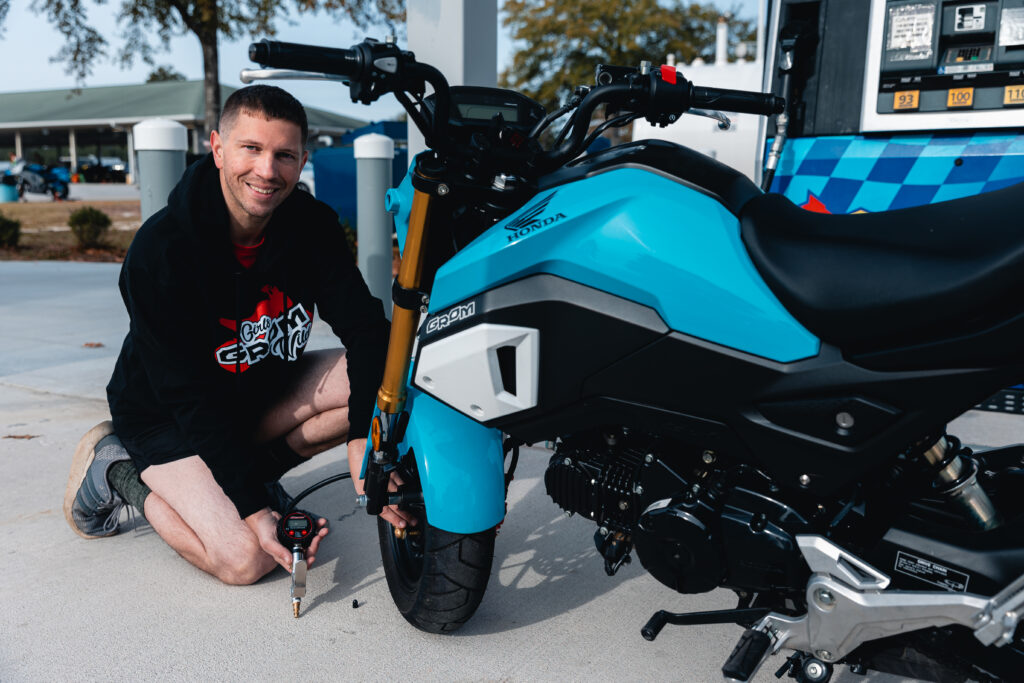
- Check the tire pressure with a tire pressure gauge. Press the gauge onto the valve stem and hold it in place until the reading is displayed. The gauge will show you the tire pressure in pounds per square inch (PSI).
- Compare the reading on the gauge to the recommended tire pressure listed in the owner’s manual. If the pressure is too low, add air with an air compressor until it reaches the recommended level. If it is too high, release some air until it reaches the recommended level.
- Recheck the tire pressure with the tire pressure gauge to ensure it is at the recommended level.
- Once you have finished checking the tire pressure, replace the valve cap onto the valve stem.
- Check the tire pressure regularly. It’s important to check the tire pressure before every ride or at least once a week to ensure proper handling, stability, and performance.
That’s it! Following these steps should help you check your motorcycle tire pressure accurately, ensuring your motorcycle is safe to ride and handles correctly.